Why Your Virtual Try On Looks Wrong, Fixes
If your virtual hairstyle or hair color try-on looks off, it is usually a photo problem, not a you problem. Here are the exact lighting, angle, and hair prep fixes that make hairstyle simulations look real, plus a quick checklist you can use in seconds.
A virtual try-on should help you decide with confidence, not leave you wondering why the style looks off. If the hairline floats, the color feels unrealistic, or the cut sits crooked, the issue is usually the photo, not you. In this guide, you will learn the most common reasons try-ons look wrong, from uneven lighting and wide-angle lens distortion to hair covering key facial landmarks and slight camera tilt. You will also get quick, practical fixes that make results look believable.
The 7 photo problems that break try-ons
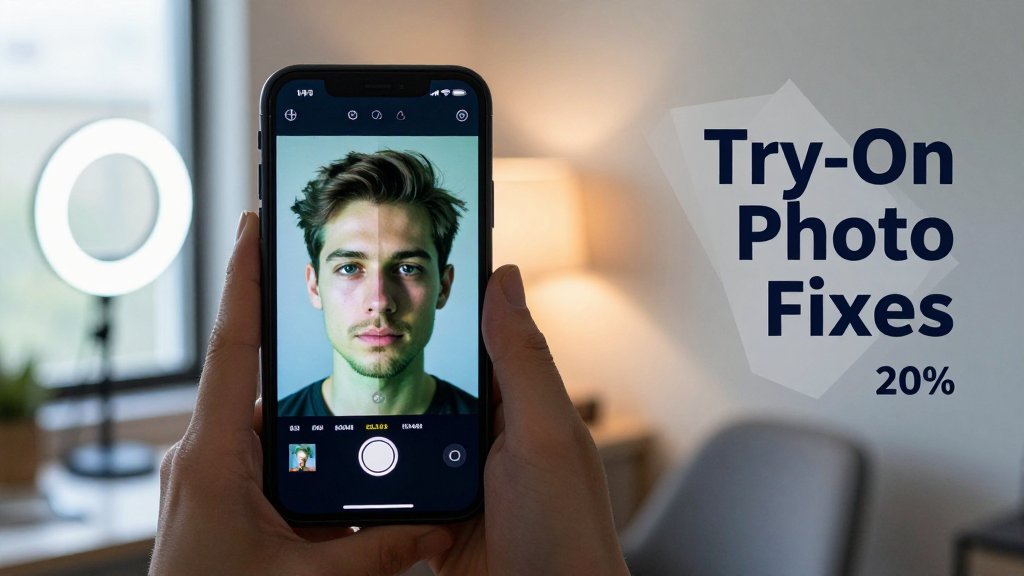
If a virtual hairstyle or hair color try-on looks "off," it is usually not the style. It is the photo. In a good try-on photo, your face landmarks are clear, the lighting is even, and the camera perspective looks like a normal portrait, not a close selfie. Here is a 10-second diagnosis you can do before you touch any settings: zoom in on your eyes and hairline, then ask, "Can I clearly see both eyebrows, the full forehead, and the edges of my hairline on both sides?" Next, glance at your cheeks and jaw. If one side looks darker, warmer, or blurrier than the other, your try-on will often shift, shrink, or turn a weird color.
Quick diagnosis: is it lighting, lens, or landmarks?
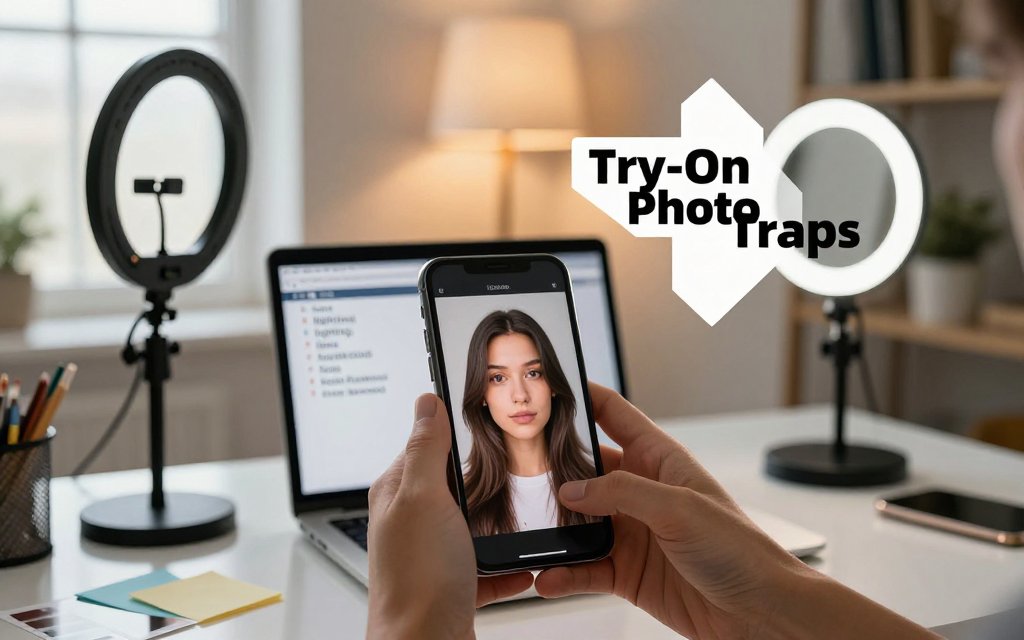
Rule you can quote to yourself: most bad try-ons come from (1) uneven light, (2) wide-angle selfie distortion, or (3) covered facial landmarks. Uneven light is the easiest to spot. Look at your under-eye area and the sides of your nose. If one side has a strong shadow, hair color try-ons tend to go darker on that side, sometimes even reading slightly green or gray because the app is trying to "average" color in low information areas. It can also make warm shades like copper or auburn look oddly brown, especially if your hair has natural highlights that disappear in shadow.
Next check lens and distance. If you used the 0.5x lens, or your phone was very close to your face, the proportions in the photo are not the proportions in real life. That is perspective distortion, and it makes try-ons feel cartoonish: a French bob can balloon outward, a pixie can look like it is perched on top, and a taper fade can look too tall. Research summarized by Rutgers University notes that a selfie taken at about 12 inches can make the nasal base appear around 30% wider compared with a photo taken at about 5 feet, which is a standard portrait distance, because the camera is simply too close to your face. You can see the explanation in this selfie distortion model.
Before you blame the hairstyle, fix the photo. Even light, a straight head, and an uncovered hairline give the algorithm clean anchors. If those three are right, most try-ons suddenly snap into place.
Finally, check landmarks. The app needs clear reference points, like the hairline, forehead, eyebrows, and the outline of your jaw. If your forehead is hidden by a hat brim, a towel wrap, heavy bangs, or even a big curl falling forward, bangs often sit too high or too far back because the system is guessing where your forehead starts. If your photo is tilted, hairstyles can drift left, and you might think your face is uneven. A quick tell: if one eyebrow looks noticeably higher than the other in the photo, it is often a tilt issue, not your face. Straighten the photo or retake it with the camera level with your eyes.
Common “looks wrong” symptoms and what they mean
Symptom: hair color looks flat, fake, or like a "helmet." Cause: overexposed lighting, beauty filters, or aggressive HDR. If your forehead and cheeks look almost white, there is not enough texture for realistic blending, so the color layer looks pasted on. Try moving one step back from the window (so the light is softer), or face the window with a sheer curtain. Also check if your camera app has a beauty mode on by default, some phones smooth edges automatically. If you are testing a rich brunette shade with red undertones, like cherry mocha, you will get a much more believable result when your base photo keeps midtones and hair texture intact. For shade selection help, pair your lighting with cherry mocha hair shade matching so the warmth you pick does not fight your undertone.
Symptom: the hairline floats above your scalp, or the part looks like it starts in midair. Cause: the real hairline is unclear. Two common culprits are (1) hair tucked behind one ear but not the other, which changes the apparent width of the head, and (2) flyaways or frizz against a similarly colored background, like dark hair in front of a dark car seat. In those situations the try-on may "lift" the style to find contrast, so curtain bangs hover and slicked-back styles look separated. Quick fix: let hair fall naturally on both sides, pull it off your face equally, and stand in front of a plain wall. Even a bathroom door works better than a patterned shower curtain.
Symptom: the style looks too big, too tall, or too wide, especially on short cuts like a wolf cut, bixie, or a textured crop. Cause: the camera is too close, or you used 0.5x, which exaggerates whatever is closest and stretches edges. Step back until your head and shoulders fit comfortably, then zoom to 1x or 2x (digital zoom is fine if it helps you keep distance). Also watch accessories. Beards can hide the jawline, heavy glasses can throw glare across your eyes, and hats can hide the hairline, all of which can confuse face shape analysis and throw off placement. For bridal try-ons, remove the veil for the base photo first, then add veil inspiration after you have the hairstyle placement looking solid.
Best photo setup for accurate hairstyle simulation
If your virtual try-on keeps giving you a “helmet wig” vibe, it is usually not the hairstyle pack. It is the photo. Hairstyle simulation is basically a precision alignment job: the app maps a style to your hairline, temples, forehead height, and jaw width. A photo that looks cute on Instagram can still confuse an overlay if the camera is too close, too wide, or your hair is hiding the eyebrows and cheeks that the app uses as landmarks. The goal is not perfection, it is consistency. If you take every try-on photo with the same angle, distance, and hair prep, you will get repeatable results and you can actually compare a shag vs a blunt bob vs curtain bangs without the photo changing the outcome.
Angle and distance that stop “big head” distortion
Start with distance and focal choice, because that is where “big head” distortion is born. Hold the camera about 18-24 inches (roughly an arm’s length) from your face. Use 1x, not 0.5x. On many phones, 0.5x is the ultra-wide lens, which exaggerates features and makes hair overlays look oddly tall at the crown or too wide at the sides. Keep your phone at eye level and keep your nose centered in the frame. If you want a slightly angled look for realism, turn your head only 5-10 degrees. Anything more starts to hide one temple, which can make a bob look lopsided or make bangs slide sideways.
Here is the why in plain language: wide-angle photos stretch what is closest to the camera and shrink what is farther away, so the center of the face can look larger while the sides appear to taper back. That can trick a hairstyle overlay into “making room” for a face that looks wider or longer than it really is. A peer-reviewed paper on focal length face distortion shows that shorter focal lengths can make faces appear rounder with features like the nose looking larger compared to longer focal lengths. The easiest fix is to step back to that 18-24 inch range, stay on 1x, and if needed use a 3 second timer so you are not leaning toward the phone.
If the try-on looks like a giant crown or a shrunken jaw, do not tweak the style first. Retake the photo at 1x from farther back, with your nose centered and your phone level. Most “wrong” results disappear fast.
Hair prep that helps the overlay land correctly
Next, make your face landmarks easy to read. Show your hairline and both eyebrows, even if you normally love a heavy side fringe. You can still try bangs in the app, but the photo should not hide the brows the app uses for scale. If possible, tuck hair evenly behind both ears. If your hair is too short to tuck, use two small clips placed symmetrically, one on each side, so your cheeks are visible. Keep your part the way you usually wear it, because a middle part vs a deep side part changes where volume sits and how a lob or layered cut frames your eyes. Smooth flyaways with a tiny bit of water, a soft brush, or a light leave-in so the hair outline is clean.
Avoid prep that changes your head shape cues. Wet hair can cling and shrink your silhouette, making long layers look flatter than they would be dry, and making short cuts look tighter around the scalp. Tight buns, high ponytails, and slicked-back styles can also distort the hairline area and make the overlay sit too far back. For face shape analysis, keep hair off your cheeks and jaw so the app can “see” your true outline. If you have curls, coils, or a protective style, you do not need to fight your texture. Just pull any forward pieces away from the cheekbones, and aim for balanced visibility on both sides so the overlay can anchor at the temples and jaw evenly.
One repeatable checklist you can use every time
If you want consistently accurate results in Fravyn or any hairstyle simulator, treat your photo like a quick “before” shot at a salon. Same distance, same lens, same face visibility, every time. That way, when you compare copper hair color vs espresso, or butterfly layers vs a blunt collarbone cut, you are judging the style, not the camera. I recommend saving the checklist below in your Notes app and using it for every try-on session, including bridal trials where tiny differences in angle can change how an updo appears to balance a veil or tiara.
If a try-on still looks off after doing the checklist, do two fast diagnostics before you blame your face shape or hair type. First, check head tilt. Even a small chin-up angle can make the forehead look larger, and chin-down can make a fringe look too heavy. Second, watch for camera height drift, especially when taking selfies one-handed. Turn on your phone’s grid, keep the eyes on the same grid line, and use a timer for stability. You will know you nailed the setup when multiple styles line up at the hairline in the same place and only the cut and color change. That is when virtual try-ons become genuinely useful for confident decisions.
Hair color looks different, lighting fixes and FAQs
If your hair color try-on looks “off,” it is usually not the shade itself. It is the photo. Hair color is basically a bundle of highlights, midtones, and shadows, and your camera has to guess what “neutral” looks like in that lighting. Warm indoor bulbs can push everything yellow, which makes a beige blonde read brassy, and can make cool ash browns look a little swampy or greenish because the camera is correcting color in a weird way. Exposure matters too: an overexposed selfie can wash out dimension, while an underexposed selfie makes every shade look one to two levels darker, especially around the hairline where shadows naturally sit.
Selfie lighting for hair color that matches real life
The biggest mismatch is warm indoor lighting plus overhead light. A kitchen pendant or bathroom ceiling light creates hard shadows under your fringe, around your temples, and along your part, so the try-on color can look patchy even when the overlay is accurate. For the most realistic color, stand facing a window for soft, even light (think: the light you would want for makeup). Avoid direct sun stripes from blinds because that can create “hot” bands that turn caramel, copper, and honey shades neon in the bright parts, then muddy in the shadows. Turn off colored LED strips and any lamps with tinted shades. Keep your background neutral (a plain wall beats a neon sign every time), and avoid a bright red hoodie or green top that can reflect onto your hair and shift the whole vibe.
Next, help your camera stop “hunting” for brightness. Tap on your face and hairline area so the phone exposes for the tones that actually matter, not the bright window behind you. If your phone allows it, lock focus and exposure so the brightness does not change mid-shot; Apple explains how to tap to focus and adjust exposure, plus use AE/AF Lock in their manual focus and exposure guide. Skip beauty filters and portrait relighting, since they often brighten the center of the face and darken edges, which makes hair color look artificially deeper near the sides. One more sneaky culprit: screenshots saved from some social apps are compressed, and compression can slightly shift tones, especially in blondes, reds, and vivid fashion colors.
FAQ: fast troubleshooting for face shape analysis and realism. If you are using Fravyn (or any similar hairstyle app), you will get the most believable result by treating your try-on like a mini photo shoot. Take two selfies: one in window light and one in your usual indoor light, then compare the same shade across both. If a color only looks good in one lighting setup, it is a lighting issue, not a “you” issue. Also remember that hair dye swatches are usually shown under controlled lighting, while your phone is trying to make your living room look like daylight. The goal is not perfection in every environment, it is a realistic preview that helps you choose the right undertone and depth before you commit.
Why does my hair color try-on look darker than expected?
Dark usually means underexposure or heavy shadow placement in the original selfie. Indoor lighting from above deepens the hairline and roots, so even “light ash brown” can read like espresso at the edges. Another common reason is that your current hair is already dark, and the try-on is correctly showing that lighter colors need lift (bleach or high-lift color) to look truly bright. Next steps: retake facing a window, tap to expose on your forehead and hairline, and compare two neighboring shades (for example, medium brown vs light brown) instead of jumping four levels at once.
What is the best selfie for face shape analysis in a hairstyle app?
Use a straight-on selfie at eye level, in even window light, with your full forehead, cheekbones, and jawline visible. Pull hair back or tuck it behind ears so the app can “see” your true outline, especially if you are testing bangs or short crops later. Keep your expression neutral (no big smile), since smiling changes cheek volume and jaw definition. Avoid wide-angle distortion by holding the phone a little farther away, then cropping in. Next steps in Fravyn: run face shape analysis on that clean base photo first, then try styles that match your result (like curtain bangs for a longer face, or a collarbone lob to balance a strong jaw).
Why do bangs and hairlines look misaligned in virtual try-ons?
Misalignment almost always comes from two things: a partially hidden hairline, or perspective. If your selfie is angled down (classic “top camera” pose) the forehead looks larger and the hairline shifts, so bangs can land too low, too high, or slightly sideways. Flyaways and baby hairs can also confuse edge detection, especially against a busy background. Next steps: retake with the phone level, step into soft window light, smooth hair away from the forehead for the analysis photo, and avoid hats. After you pick the right base alignment, bangs like blunt fringe, bottleneck bangs, and side-swept fringe tend to snap into place much more realistically.
Ready to see how a new hairstyle looks on you? Try Fravyn and preview 50+ styles on your own photo in seconds. Upload a clear picture, test cuts and colors, then fine-tune your look with better lighting and alignment for more realistic results. Download Fravyn now on iOS and start experimenting with styles that actually land where they should.
Try a New Hairstyle Today
Preview 50+ hairstyles and 29+ colors on your own photo with Fravyn.