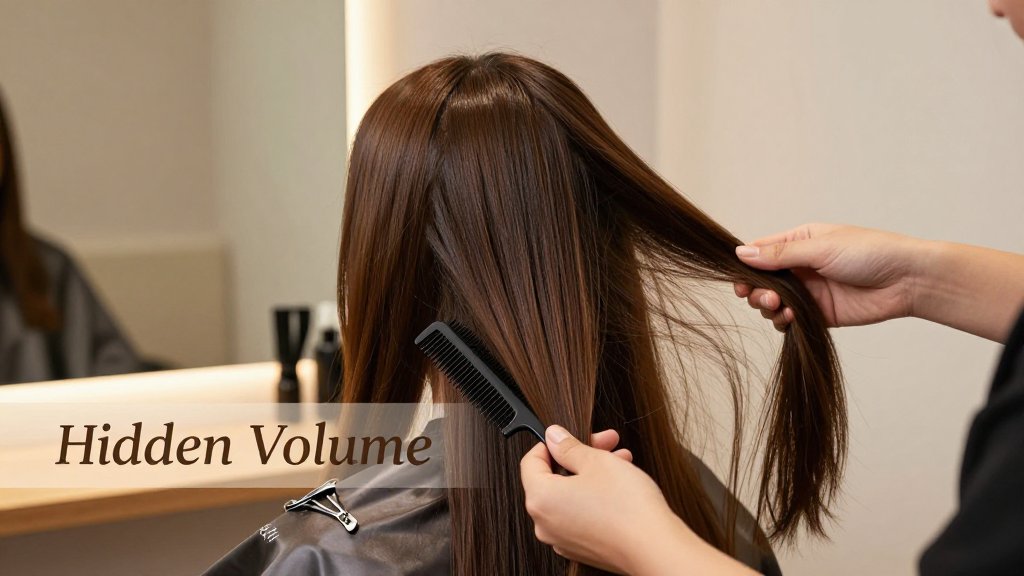
Invisible Layers for 2026: See Volume Before Cutting
Invisible layers are one of the biggest 2026 haircut trends because they add movement and “quiet” volume without obvious steps. This outline shows who they work for, how to ask for them, and how to preview the result with an AI hairstyle try-on before you book.
Invisible layers are set to be the quiet haircut upgrade of 2026, because they add lift and movement without obvious, choppy steps. If you want fuller-looking hair, especially with finer strands, the real win is choosing a shape that supports volume before anyone picks up scissors. In this guide, you will learn what invisible layers are, who they flatter most, how to describe them at the salon, and a simple way to preview the final silhouette so you can commit with confidence.
What invisible layers are, and why 2026 loves them
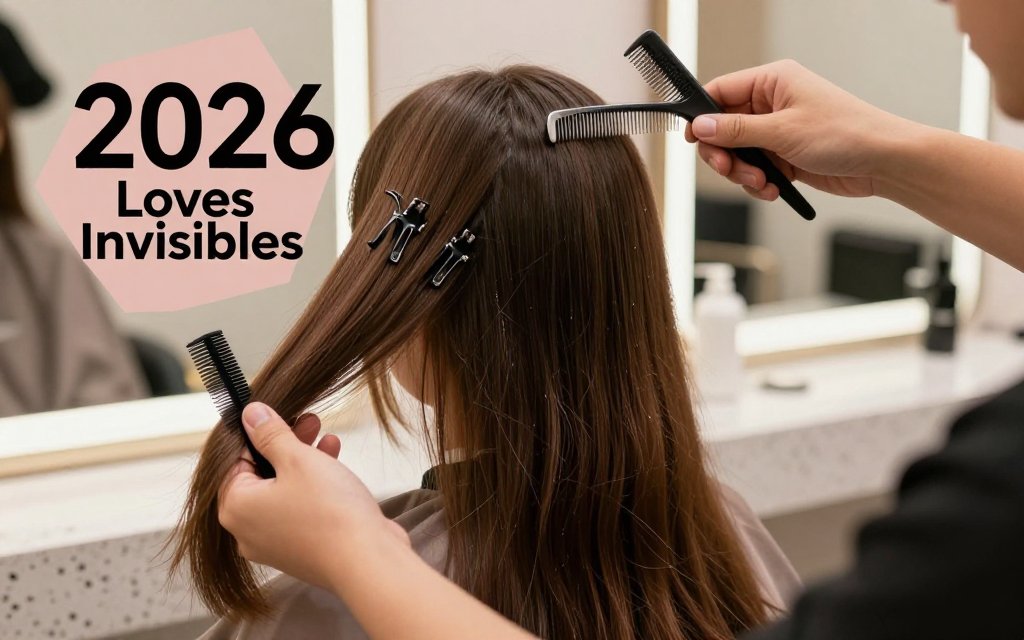
Invisible layers are the haircut version of a good foundation: you do not notice “layers” at first glance, but you immediately notice that the hair sits better. Instead of carving obvious steps into the surface, your stylist creates subtle, internal layers underneath the top veil of hair. That hidden structure takes weight out of the places that collapse (often the crown and mid-lengths), while keeping the perimeter strong so the ends still look healthy and full. For 2026, the appeal is simple: people want movement and volume that still looks polished in photos, grows out gracefully, and does not force a daily blowout routine. Invisible layers also play nicely with lots of trending looks, like glossy one-length finishes, soft blowout waves, and wedding hair that needs lift without frizz-prone teasing.
Here is the realistic promise. Invisible layers can make thin hair look fuller, but they do it by improving shape, lift, and swing, not by creating new density. If you have fine strands or low-density hair, the “fuller” effect usually shows up as a less-flat crown, a less-stringy midsection, and ends that look more intentional because the silhouette is cleaner. The technique is also considered low maintenance because the top layer stays long and cohesive, so you avoid the choppy, grown-out ladder effect that can happen with classic long layers, and you avoid the constant styling that shaggy layers often beg for. If you have seen “ghost layers” on social media, it is closely related, and NewBeauty’s ghost layers for volume breakdown describes the same idea: subtle weight removal that boosts movement without sacrificing length.
Invisible layers vs long layers: the quick visual test
Classic long layers are usually easy to spot because the surface pieces graduate down in visible tiers, especially when you curl or when you tuck one side behind your ear. Invisible layers behave differently: the outside still reads as a clean, blended sheet, but the hair has more bounce when you move. Try this quick mirror test at home: look straight on, then gently sweep all your hair forward over both shoulders. If your ends form a heavy triangle, meaning wide and bulky at the bottom with a flat top, you are seeing weight distribution, not “a need for more layers.” Next, turn to the side and check your crown in overhead bathroom lighting. If the root area looks plastered, but the bottom looks dense, internal layering is often the more flattering fix than slicing up the surface.
The most common mistake is walking into a salon and asking for “more layers” when what you actually want is crown lift. On fine hair, “more layers” can translate into over-thinned ends, extra flyaways, and that wispy, see-through perimeter that makes hair look even thinner. A better request sounds like this: keep the bottom line strong and full, add subtle internal layers through the crown and mid-lengths, and blend any face framing so it does not disconnect. If you want a visual before committing, it helps to try a virtual preview first. In Fravyn, you can test a few silhouettes (sleek collarbone lob, soft blowout layers, long polished length) and let the face shape analysis guide you toward shapes that add lift without shrinking your perimeter.
Ask for hidden, internal layers that start below your part and keep the bottom line blunt. If your ends look see-through, you have too much layering. The goal is lift at the crown, not less hair.
Who gets the best volume from invisible layers
Thin hair tends to “win” with invisible layers when the stylist protects the perimeter and places the shortest internal pieces where they can actually support lift, usually around the crown and upper mid-lengths. If your hair is both fine-stranded and low-density, the sweet spot for a fuller look is often collarbone to mid-chest length, because extremely long hair can pull itself flat and expose sparse ends. On the other hand, going too short can make the scalp show more easily, depending on your growth pattern. Invisible layers will not create new density, but they can create the illusion of thickness by preventing hair from collapsing into a narrow, stringy shape. If you are also thinking about color, pairing subtle internal layering with a richer tone can boost dimension, and this cherry mocha hair shade match guide is a great place to start if you want something deep, glossy, and photo-friendly.
Medium-density hair usually gets the most “I did nothing and it looks good” payoff, because there is enough hair for the internal structure to create airy movement without the ends getting fragile. Thick hair also benefits, but the goal often flips: invisible layers can remove heaviness and help hair dry faster, while keeping the outside looking expensive and sleek. Texture matters too. Straight hair shows the clean, uninterrupted surface really well, so invisible layers are ideal if you love a sharp middle part and glossy finish. Wavy hair gets a lighter, bouncier bend with less pouf at the bottom. Curly hair can absolutely do internal layering, but it needs curl-aware placement so the shape stays rounded, not stacked; ask your stylist to cut for your curl pattern and shrinkage. The low-maintenance part is that the silhouette is forgiving as it grows, so touch-ups can often be scheduled around life events, like engagement photos, weddings, or big trips, instead of every time your layers start looking “obvious.”
Step by step: Decide if invisible layers fit you
Before you book, treat invisible layers like a fit check, not a leap of faith. The goal is to get that lifted, airy movement without ending up with obvious “steps” or a thinner-looking perimeter. You can figure out if that is realistic in about five minutes at home, just by looking at density (how much hair you have), strand size (how thick each hair is), growth pattern (how it wants to fall), and your styling tolerance (how much effort you will actually do on a Tuesday morning). If you are also thinking about a color refresh, this is the moment to decide where you want fullness to live, because highlights and brighter tones can make texture and layering show more.
Your hair type in 60 seconds: density, strand size, bend
Start with density, because it affects how “safe” layers feel. Stand by a window in natural light and part your hair in three places: center, crown, and above one ear. If you see a lot of scalp right away, you are likely low density and invisible layers should stay micro and internal, more like tiny lift points than a full layer map. If you see some scalp but it fills in quickly, think moderate internal layers, especially through the midlengths. If your scalp is hard to spot and your ponytail feels substantial, you can handle stronger internal layering and even targeted debulking. If you want a quick sanity check on the difference between amount of hair and strand size, this explainer on thickness vs density makes the terminology much clearer.
Now check strand thickness, because fine strands need a different layering “dose” than coarse strands. Pull one clean, dry strand and roll it between two fingers. If you can barely feel it, your strands are fine, and invisible layers should be tiny and strategic, like micro-invisible layers at the crown or just under the top section to avoid see-through ends. If you can feel it clearly but it is not wiry, you are medium, and you can usually do moderate internal layers plus soft face-framing without sacrificing density. If your strand feels thick or slightly stiff, you can handle more removal inside the haircut, especially if your hair tends to expand. Coarse strands often look better with fewer, more intentional internal layers, rather than lots of tiny snips that can read frizzy.
Last in the 60 second check is bend, plus one bonus: growth pattern. Let your hair air-dry with no brush, then notice where it bends. Straight hair shows every line, so invisible layers should be blended and minimal at the surface, especially if you wear it sleek. Wavy hair loves internal layers, because they encourage clumps to form and keep the shape from collapsing at the roots. Curly and coily hair can absolutely do “invisible” layering too, but you want a curl-aware stylist who shapes from the inside while respecting shrinkage and spring. Add growth pattern: if you have a crown swirl, a strong side part, or cowlicks at the hairline, ask for layers that follow the direction of growth so you do not fight your own head every morning.
Face shape goals: lift, width, and where volume should live
Invisible layers work best when you place volume on purpose. For round faces, ask for lift at the crown and a little space above the temples, then keep the perimeter clean so the shape reads longer. For square faces, the goal is usually softening, so think curved, cheekbone-length internal layers and ends that flip slightly away from the jaw instead of stopping blunt right at it. For oblong faces, avoid piling height only on top, which can make the face look longer. Instead, place fullness around the cheeks and keep movement through the sides, like a long bob with internal layers that swell gently at the widest part of your face. For heart shapes, keep fullness near the cheekbones and don’t over-thin the ends, since you want balance with a narrower chin.
Here is the counterintuitive tip that saves a lot of fine-haired people: too much face-framing can make the front look thinner even if the back looks fuller. If your hairline is delicate at the temples, or you already tuck hair behind your ears all day, heavy face-framing can turn into two wispy pieces that never feel “done.” In that case, keep the face-framing longer and lighter, and put the real invisible layering just behind the front, so the top layer still looks dense. If you are planning wedding hair, this matters a lot. Updos, half-up styles, and loose waves photograph best when the front has enough thickness to hold shape, even after a few hours of hugging and dancing.
Finish your decision by matching the cut to your styling tolerance. If you love a blowout, invisible layers can be placed to “wake up” movement in a butterfly-inspired shape without losing length, especially on medium to thick hair. If you are more wash-and-go, ask for fewer internal layers and a strong, flattering outline, like a softly rounded lob, a one-length collarbone cut with hidden crown lift, or a textured crop for men that removes bulk without obvious choppiness. Before the appointment, save two photos: one of your air-dried texture and one of your favorite finished style. If you want extra confidence, try a virtual preview in Fravyn so you can see how added crown lift or a brighter color might change your overall volume before any scissors touch your hair.
Preview invisible layers with AI before the salon
Invisible layers can be the hardest haircut to commit to, not because they are dramatic, but because they are quiet. In the mirror, you might only notice a slightly lighter feel, a little more movement, and a bit of lift at the crown. That subtlety is exactly why people sometimes leave the salon thinking, “Did anything even change?” A virtual try-on helps you spot those small differences on your own face and hair density before anyone picks up scissors. It is especially helpful if you are chasing “more volume” on fine hair, since the wrong kind of layering can make the ends look wispy instead of fuller.
With Fravyn, you can test the vibe first, then talk to your stylist with specifics. Try-on is not about finding a single perfect image, it is about narrowing your options so your consultation is clearer. Because Fravyn offers 50+ hairstyles and 29+ hair colors (plus face shape analysis and personalized recommendations on iOS), you can isolate what you are actually responding to: Is it the length at the collarbone, the softer face framing, the way the crown sits, or the brightness around your cheekbones? That clarity reduces regret, and it also makes grow-out planning easier because you can preview how “invisible” layers read at different lengths.
How to get an accurate virtual hairstyle preview
Start by picking 2 to 3 reference looks that are genuinely close to your current cut, not just aspirational. For invisible layers, “close” means similar length and overall silhouette, like a blunt-ish shoulder-length lob with hidden movement, a long one-length cut with internal layers for crown lift, or a soft shag-adjacent style with very gentle face framing. Then upload 1 to 2 clear photos of yourself: one straight-on and one slight angle (think three-quarter view). Clean window light and a neutral background matter more than glam makeup, and consistent positioning helps your comparisons, similar to common photo consistency tips.
In the app, test lengths first, then test layers, then test color if you are curious. Length changes the “perimeter density” (how solid the ends look) more than most people expect, so lock that in before you judge layering. Once you toggle layers, look for three things: crown lift (does your hair look like it has air at the top, not just frizz), perimeter density (do the ends still look healthy and substantial), and whether the tips start to look too see-through. Invisible layers are subtle, so do not stare at one image and hope for a revelation. Compare a “before vs after” pair side by side, zoom in at the crown and the last two inches of hair, then decide.
“I want invisible layers that keep my perimeter strong. Please add subtle internal movement for crown lift, but avoid obvious steps. If my ends start looking wispy in your plan, I would rather keep it more blunt.”
Do invisible layers work for thin hair, or do they make it look thinner?
Yes, they can work beautifully for thin or fine hair, but only if the perimeter stays protected. Invisible layers are meant to create support and movement inside the haircut, not carve away your ends. In try-on, watch the last two inches of hair: if the hemline looks sparse, that is a sign the layering is too aggressive for your density. Ask for minimal removal at the bottom, and focus the layering higher, near the crown and mid-lengths, so you get lift without losing fullness. If your hair tangles easily, go even softer.
How do invisible layers grow out, and how often do I need trims?
Invisible layers usually grow out gracefully because there are no harsh “steps” to announce themselves. On most people, the shape stays flattering as the layers relax and drop, which is why they are a smart choice if you are growing bangs out, growing toward a longer length, or planning a bridal timeline. For upkeep, aim for trims about every 8 to 12 weeks if you heat-style often, color regularly, or notice your ends splitting. If you air-dry and your hair is healthy, you may stretch closer to 12 to 16 weeks while keeping the look soft.
What should I tell my stylist to avoid choppy, obvious layers?
Say exactly what you want to preserve, then describe the internal change you want. Tell them you want “invisible” or “hidden” layers that keep the outer shape looking one-length, with a strong baseline and no shelf-like pieces around the face. Mention that your goal is crown lift and movement, not a layered outline. Bring 2 to 3 Fravyn screenshots: your current photo, the best try-on result, and one you dislike (circle the see-through ends or the too-fluffy crown). Ask how they will maintain perimeter density, and request styling tips you can repeat in five minutes.
Ready to see how invisible layers and other trending cuts could look on you first? Try Fravyn and preview 50+ styles on your own photo in seconds, so you can walk into your appointment with a clear plan. Download the app, test a few lengths and volumes, then save your favorites to show your stylist. Get it here: iOS.
Try a New Hairstyle Today
Preview 50+ hairstyles and 29+ colors on your own photo with Fravyn.