Retrain Your Hair Part to Prevent Thinning
If your part line looks wider than it used to, your hair might be “trained” to fall the same way every day. Here’s how to switch your part without frizz, reduce part-line breakage, and preview the most flattering side or middle part for your face shape using a virtual hairstyle try-on.
If your hair part seems wider than it used to, you are not imagining it. Part lines can thin over time when the same section of hair takes constant heat, tension, and sun exposure. The good news is that you can often make your part look fuller quickly with a few smart changes. In this guide, you will learn how to retrain your part gradually, adjust your drying and styling technique for lift, and pick a placement that flatters your face shape without adding frizz.
Is your part line thinning or just changing
Before you panic over a “wider” part, do a quick reality check: a part can look sparse for totally normal reasons, like a strong cowlick, a swirl at the crown, or hair that naturally grows forward on one side and back on the other. Even a little styling buildup can make the line look sharper and more scalp-y, especially if you are using dry shampoo daily or layering root powders. Contrast matters too. Dark hair with a light scalp can make a part look bold, while highlights can make it look softer. If you are experimenting with lighter tones (or embracing silver), previewing different shade placements can help you judge what is “real” thinning versus contrast, and you can start with test silver hair shades to see how a brighter tone changes your part’s visibility.
It also helps to separate “hair looks thinner” from “hair is actually thinning.” A part often looks wider when the hair right next to it is breaking, bending, or getting flattened, which creates a more defined line. Repeated heat right at the scalp, strong UV exposure directly on the part (think of it like a tiny sun-exposed stripe), and styles that pull from the same spot can all make that area look tired over time. The good news is that changing your part direction can reduce daily stress on the same hairs and can make the part look less prominent. The realistic expectation: retraining can redirect and “lift” hair so it covers differently, but it cannot treat medical hair loss by itself. If your part widens quickly over weeks, feels itchy or sore, or you see scaling, redness, or patchy loss, that is a smart moment to loop in a dermatologist.
The simple signs your part needs a reset
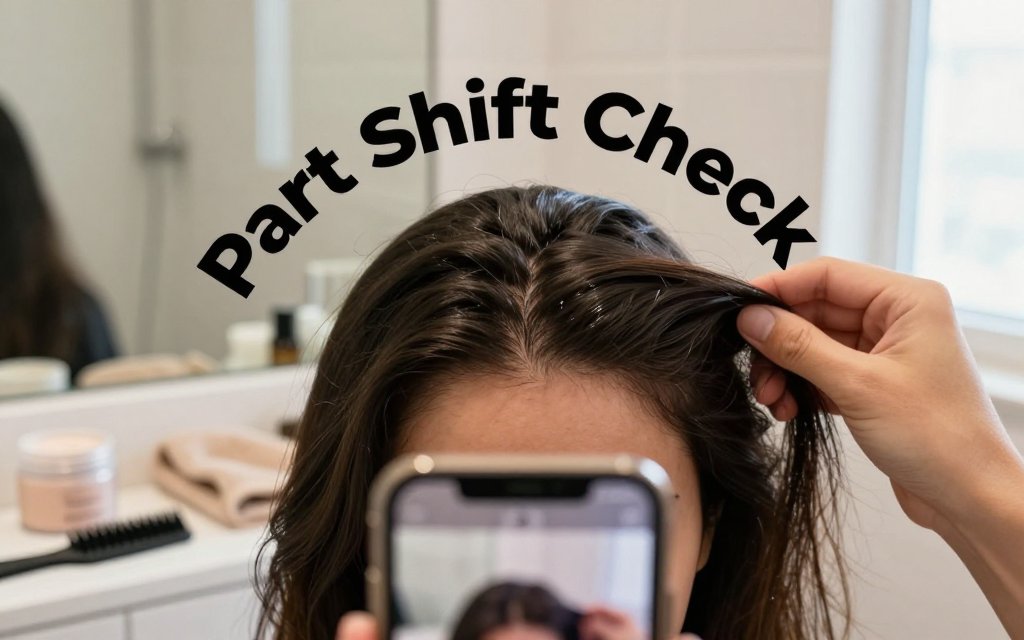
You can do a two minute self-check that is much more reliable than staring in a magnifying mirror. Grab your phone, stand in the same indoor spot you are usually in (bathroom lighting is fine), and check these:
- Compare photos: pull up a selfie from 6 to 12 months ago with a similar part and similar lighting, and compare scalp show-through.
- Scalp visibility indoors: look at your part in soft indoor light, not under a harsh overhead bulb that exaggerates every line.
- Breakage along the part: scan for short, fuzzy pieces that stick straight up right next to the part, which often signals heat or friction damage.
- Tenderness after ponytails: if your scalp feels “tight” or sore where you normally part after a slick-back bun, that area is telling you it is taking repeated stress.
One common mistake: judging thickness right after dry shampoo, texture spray, or heavy root cover-up. Those powders and resins can clump hair into little sections, making the part line look wider even when density has not changed.
Next, do a quick “movement test.” Lightly mist the roots with water, finger-comb, then shift your part a half inch to the left or right. If the new part immediately looks fuller and the old line still looks stark, you may be dealing with a styling habit plus breakage, not a sudden density change. Pay attention to the hair texture along that line too. If the hairs on either side of the part feel rougher, look duller, or snap easily when you gently tug a single strand, that points to shaft damage from heat, sun, chemical processing, or aggressive brushing. On the flip side, if every part you try looks equally see-through and you are noticing increased shedding on your brush, your shower drain, or your pillowcase, “retraining” alone is probably not the whole answer.
Do your part check with clean, product-light hair in normal indoor lighting. If the line looks dramatically wider only after powders or root sprays, you may be seeing buildup and separation, not true thinning.
What actually causes part line thinning over time
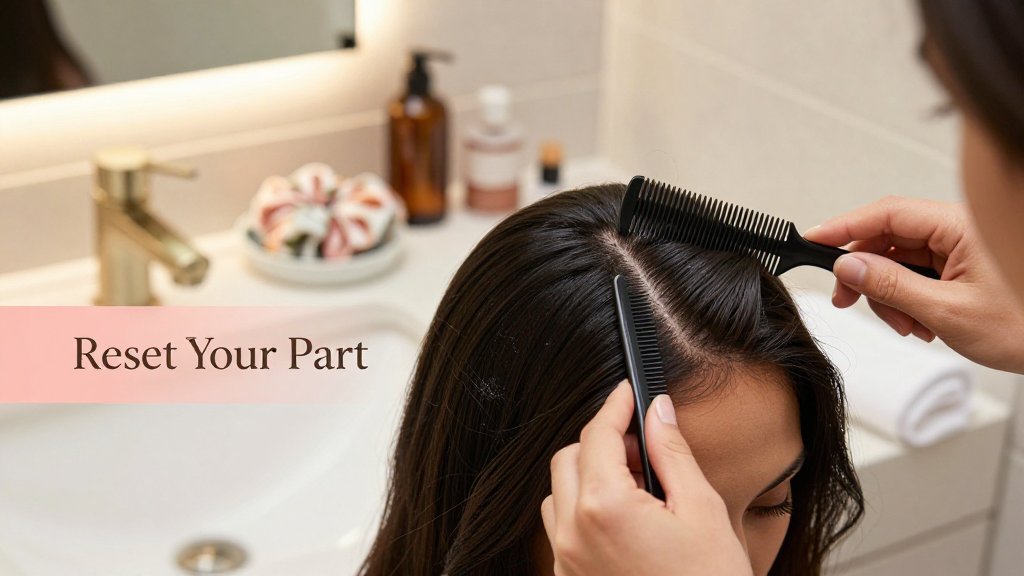
Think of your part as a “repeated stress zone.” If your hair is divided in the same place every day, the hairs right at that line get the most heat, the most brushing, and often the most direct tension. Even if the follicle is fine, the hair shaft can weaken, break shorter, and stop laying smoothly across the part, which makes the line look wider. Add hot tools at the scalp, like flat ironing from the root or blasting the part with a blow dryer nozzle, and you are concentrating high heat on the same few centimeters repeatedly. That is why many stylists recommend intentionally shifting your part and training the hair to fall in a new direction, using techniques like directing roots while drying and setting the new part as it cools, similar to the tips in how to retrain your part.
(hair.com)Hairstyles can intensify that stress zone more than people realize. Tight braids, cornrows, glued-down edges, and slick ponytails often pull from the exact same part line, especially if you always place the elastic in the same spot for the gym. Bridal styling can do it too, like a tight low bun paired with a veil comb that anchors right along your part, then gets tugged during photos and dancing. UV exposure is another sneaky contributor because the scalp at your part gets sun the way your shoulders do, and chronic sun exposure can leave the part looking more obvious over time. If you are color treating, heavy highlighting right on the part can also leave shorter breakage that makes the line look “empty,” even though the rest of your hair looks thick.
(hair.com)Here is the encouraging part: retraining is mostly about reducing daily stress and improving how hair sits, so it can make a noticeable cosmetic difference for many people. If your part looks wider because the roots are stubbornly lying in one direction or because the hair along that line is snapping shorter, switching the part, drying in the opposite direction, and letting the new shape “set” as the hair cools can help your hair cooperate over time. What it cannot do is reverse genetic pattern loss, scarring conditions, or major hormone-related shedding without medical support. Talk to a dermatologist sooner rather than later if you have burning or pain at the part, sudden shedding, bald patches, or scaling that looks like stubborn dandruff. Catching the cause early matters, and then retraining becomes a helpful styling partner, not the only plan.
(hair.com) (hair.com) (hair.com)How to retrain your hair part without frizz
Your hair part has a memory. If you have worn the same side or middle part for years, your roots learn that direction, and they can puff up or split into little flyaways the moment you try to switch. The goal is not to force a brand new part in one morning, it is to gently guide the roots so they lie down smoothly and lift where you want volume. Dermatologists and stylists also point out that rotating your part can give one area a break from repeat stress and sun exposure, but it is not a magic fix. For a quick expert overview, read experts on changing your part and then come back to the practical routine below.
To keep frizz low while you retrain, think in two rules: control moisture, then control direction. Frizz gets worse when you start on soaking-wet hair (longer heat exposure), rub with a terry towel (cuticle rough-up), or keep touching and re-combing while the hair is halfway dry (that is prime puffiness time). Another sneaky frizz trigger is flipping your head back and forth while drying because the roots dry in random directions. Instead, start with damp hair that feels like a wrung-out T-shirt, then set a clean part once, clip it, and dry the roots first so the “new map” locks in before the lengths start expanding.
The 10 minute damp reset that makes hair cooperate
This is the repeatable reset you can do after a shower, after the gym, or even after misting your roots with water. Start on damp hair, not dripping: blot for about 60 seconds, then wait 2 minutes so water is not pooling at the scalp. Use the tail of a rat-tail comb to draw the new part in one smooth line, then comb each side once from root to mid-length. Now clip for root training: place 2 to 4 duckbill clips right at the part, but angle the hair slightly in the opposite direction of where it wants to fall. That tiny “wrong way” bend at the roots is what creates lift without teasing or backcombing.
Blow-dry the roots first, before you worry about ends. Put your dryer on low to medium heat, and medium airflow if you have settings. Hold the nozzle about 6 to 8 inches away, keep it moving, and aim the airflow down the hair shaft so the cuticle lies flatter. Work in small zones: 20 to 30 seconds along the part line, then 30 to 45 seconds at each front corner where cowlicks live, then 60 seconds across the crown. When the roots feel 90 percent dry, remove clips and dry for another 30 to 60 seconds while brushing lightly with your fingers. Finish with 20 to 30 seconds of cool air directly along the part to set the direction.
Adjust the same routine for your texture, instead of swapping a dozen products. Fine hair usually frizzes from over-brushing and too much heat at the hairline, so keep the brush out until the very end and rely on clips for shape. Wavy hair behaves best if you do the root-dry step, then let the lengths air-dry 10 minutes before you finish drying so you do not “blow out” your natural bend. Curly and coily hair can retrain a part without breaking the pattern by setting the part on damp hair, clipping only at the roots, and drying mainly at the scalp with a diffuser on low heat, hands off as much as possible. > Frizz usually spikes when hair is disturbed mid-dry. Set the part once on damp hair, direct airflow downward, dry the roots first, then stop touching it until the cool air step locks the new direction in place.
A 7 to 14 day schedule that looks natural
If your part has been the same for a long time, the most natural-looking switch is a series of micro-shifts. Picture the scalp like fabric that creases where it is folded every day. You are not trying to iron a hard crease out in one pass, you are slowly changing the fold so the new line looks intentional and smooth. As a general guide, move your part about 0.25 to 0.5 inches at a time, and stay there long enough for your roots to dry in that direction a few times. If you love a dramatic side part for volume, you can still alternate occasionally so one area is not always the “hot spot” for tugging, brushing, and sun exposure.
The most common mistake is moving the part too far in one day, then over-brushing to force it into place. That combo creates halo frizz at the crown and those short, snap-prone hairs right at the part line because you are repeatedly bending the same delicate strands while they are drying. If you need the switch to look polished for an event (engagement photos, a bridal trial, or a new color appointment), cheat with placement instead of pressure: tuck one side behind the ear, pin a face-framing piece with a small clip, or do a low pony with the new part so the roots learn quietly. If you want extra confidence, try the new part with a hairstyle preview first, then commit to the real shift once you like how it balances your face shape.
Side part or middle part for your face shape
Your best hair part is the one that makes your features pop and your scalp feel less “on display.” If your part line looks wider lately, a tiny shift can be surprisingly powerful because you are changing where hair lifts from the root and where light hits your scalp. A strict middle part can look sleek and editorial, but it also creates one strong line of contrast. A deeper side part spreads hair across the top more unevenly, which can blur a sparse line and create instant volume at the crown. The good news for 2026 is that the softer side part is trending again, but you do not have to commit forever. Think of parting like styling, not identity.
Face shape helps you choose a part that feels “balanced” in photos, especially if you are planning a big moment like engagement pictures or a wedding. Oval faces can usually wear any part, so you can let thinning concerns lead the decision. Round faces often look more sculpted with an off-center or side part because it adds angles and height (try it with a collarbone lob and loose waves). Square faces tend to love a side part paired with side-swept fringe or curtain bangs to soften the jawline. Heart-shaped faces can go either way, but a middle or soft off-center part with cheekbone-grazing layers can balance a wider forehead and narrower chin.
If your scalp shows most at the part, shifting it even half an inch can change everything. You get lift at the roots, less contrast along the line, and a refresh without committing to a new cut.
Quick rules for part placement that looks fuller
If fullness is the goal, pick a part that avoids stressing the exact same strip of hair every day. A deep side part can camouflage a sparse part line and add flattering asymmetry, especially with a blowout, a textured crop, or a side-swept bob. A soft off-center part looks modern and “undone,” plus it reduces wear on one line if you alternate sides week to week. A strict middle part emphasizes symmetry and can look gorgeous with long layers, a low bun, or a sleek ponytail, but it may spotlight scalp if density is low right at the center. Use these quick rules as your shortcut in the mirror:
Part choice looks even fuller when your cut and color support it. If you love a middle part but worry about a visible line, try curtain bangs, face-framing layers, or a soft shag that breaks up the top. If you prefer a side part, a long pixie with a side fringe, a layered lob, or a curly side-swept style can create lift without teasing. Color matters too: a neutral root shadow, “babylights” around the top, or lowlights that add dimension can make the scalp less noticeable. Before you change anything permanently, preview it. In Fravyn (iOS), you can test middle, off-center, and side-part looks across 50+ hairstyles and 29+ hair colors, then use face shape analysis to get a recommendation that matches your features and your density goals.
FAQ: retraining and choosing a hair part
If you are torn between a middle part and a side part, treat it like a mini experiment. Take two selfies in the same lighting: one with a clean middle part, one with a soft off-center part, and one with a deeper side part. Pay attention to three things: where your hair naturally wants to separate, where you see the most scalp, and which side gives you better lift at the root. If you are working with a cowlick or a swirl at the crown, you are not “doing it wrong.” You just need a method and a little time. These FAQs answer the most common part-switch problems.
How long does it take to retrain your hair part
Most people notice the part behaving better in about 7 to 14 days, but it depends on length, texture, and how strong your natural growth pattern is. A practical benchmark comes from Allure’s real reason to change your part discussion, which describes setting the new part nightly for a week so it starts falling there without constant help. For thick curls or stubborn cowlicks, plan for closer to two weeks, and use clips at the roots while hair cools after blow-drying.
How do you change your hair part without frizz or flyaways
Switch your part on damp hair, not dry hair. Mist the roots with water, apply a light leave-in conditioner, then comb just the top section where the part will sit. Blow-dry the root area first using a nozzle and medium heat, directing airflow down the hair shaft, then finish with a cool shot so the new shape “sets.” For wavy and curly hair, skip aggressive brushing and use a curl cream or gel on the top layer, then press in place with a silk scarf for 10 minutes. Finish with a tiny amount of wax stick on flyaways, not a heavy oil.
Is a side part or middle part better for thinning hair and my face shape
For thinning that is most noticeable at the center, a side part or soft off-center part usually looks fuller because it avoids a straight “runway” of visible scalp. For thinning that is more diffuse, a middle part can still work if you add movement, like curtain bangs, a layered shag, or loose bend waves. Face shape is your tie-breaker: round and square faces often look lifted with a side part, while oval faces can choose based on where hair is densest. If you want a no-regrets choice, use Fravyn’s face shape analysis, then virtually try a middle part and two depths of side part before deciding.
Ready to see how a new hairstyle looks on you before you commit? Try Fravyn to preview 50+ styles on your own photo in seconds, including different parts and volume-boosting looks. It is a fast way to find the most flattering placement, then bring that plan to your next wash day or salon visit. Download Fravyn on iOS and start experimenting today.
Try a New Hairstyle Today
Preview 50+ hairstyles and 29+ colors on your own photo with Fravyn.