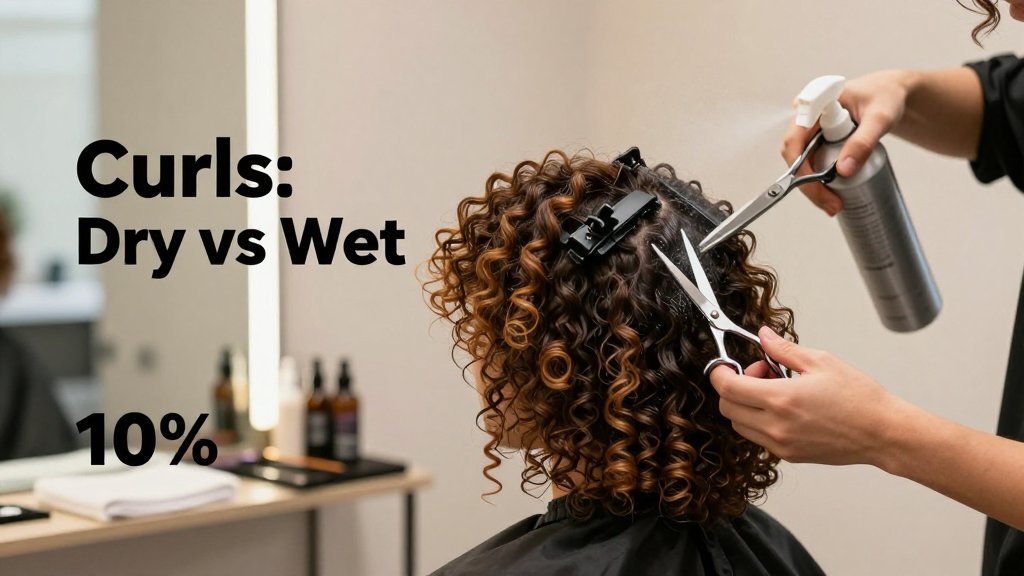
Dry Cut or Wet Cut, Choose for Curls
Dry cut or wet cut for curls is not a one-size choice. Learn how each method shapes curl pattern, who it suits, what to ask your stylist, and how to preview curly bobs, shags, layered lobs, and bangs by face shape before you book.
Cutting curly hair is not one size fits all, because your curl pattern, shrinkage, and daily styling can completely change the final shape. That is why choosing between a dry cut and a wet cut matters as much as the style you want. In this guide, you will learn the real differences between each method, who benefits most from each, and how to describe your goals clearly at the salon. You will also see how to preview bobs, shags, layered lobs, and bangs before committing.
Dry cut vs wet cut for curly hair
Here’s the simplest truth about cutting curls: the curl pattern is the haircut. A dry cut shows you the shape you are getting right now, in the mirror, with your real shrinkage and your real curl clumps. A wet cut gives your stylist a clean, even structure that can be refined later as the hair dries. If you remember one mental model, make it this: dry cut for the silhouette you can see today, wet cut for the baseline you can perfect after. Most great curly appointments use a little of both, but knowing the difference helps you ask for the right plan instead of hoping your curls behave the same at home.
Curly hair is not one uniform fabric, it is a collection of springy “families” of curls that clump together, separate, and re-clump depending on water, product, and humidity. Your spring factor is how fast a curl snaps back when it dries, and it often varies by zone (many people have looser curls at the nape and tighter coils at the crown). That is why the same “two inches off” can look like a soft trim on one side and a surprise micro-layer on the other. If you like previewing shapes before committing, pair salon communication with a try-on, then troubleshoot any odd results using virtual hair try-on fixes so your inspo pics match your real curl behavior.
Ask your stylist to show the length on your driest, springiest curls first, then refine on damp hair if needed. That simple two-step approach prevents shrinkage surprises and keeps your shape consistent from wash day to wedding day.
What actually changes when curls are cut dry
In a true dry curl cut, hair is shaped curl-by-curl or section-by-section while it is worn as styled (your usual part, your usual definition, and your usual volume). That matters because shrinkage is not theoretical, it is visible. Depending on your pattern and conditions, curls can rebound roughly 10 to 50% from their stretched or wet length, especially when humidity changes how tightly the curl coils and clumps. One helpful breakdown of curl shrinkage ranges shows why a “safe” trim on wet hair can read very different once dry. This is also where face-framing layers get smarter: the stylist can see exactly where a cheekbone layer lands and how curtain-bang pieces spring up around the eyes.
Dry cutting can prevent the classic curly surprise of walking out with hair that feels two sizes shorter than expected, but it has its own traps. If your curls are frizzy, stretched from a ponytail, or weighed down with a buttery leave-in, the cut can “lock in” a temporary shape that you cannot recreate on wash day. Another common issue is clump mismatch: if your right side naturally forms chunkier ringlets and the left side splits into smaller spirals, cutting both sides to the same visible length can dry into uneven volume. Reduce risk by arriving with your hair styled like your normal life (not a brand-new routine), asking the stylist to mist and re-define any suspicious sections, and agreeing on a conservative perimeter before adding shorter layers for a curly shag, wolf cut, or round layers.
What wet cutting gets right for curls
Wet cutting earns its place because damp hair can be controlled with even tension, making it easier to create a clean baseline. This is especially useful for precision perimeters like a chin-length curly bob, a collarbone lob, or a blunt-leaning “Italian bob” that still needs curl-friendly movement. On wet hair, a stylist can also see and remove obvious damage, clean up see-through ends, and set a balanced guide so the left and right sides start from the same foundation. For people growing out bleach, heat damage, or old layers, a wet cut can be a calm reset, then the stylist can switch to dry refinement to tailor the final silhouette once the curl clumps settle into their true shape.
The mistake is not wet cutting itself, it is wet cutting without a shrinkage plan. Damp curls look longer, straighter, and more uniform, which can tempt a stylist to “perfect” the line and accidentally set you up for a dry, bouncy triangle shape or unexpected shortness around the face. If you want a wet cut, ask for two checkpoints: first, a longer-than-you-think perimeter on wet hair; second, a final dry pass to customize the face frame, crown layers, and any fringe (bottleneck bangs and curly baby bangs are especially sensitive to spring-back). You will also get better results by describing how you style: air-dry vs diffuse, gel cast vs cream-only, and whether you wear half-up styles for workouts or a bridal trial updo.
Choosing between dry and wet is really choosing your priority. If your goal is a specific visible shape, like a rounded curly pixie, a cheekbone-hugging bob, or face-framing layers that flatter a round, heart, or square face, start with dry shaping so the mirror truth leads. If your goal is healthier ends and a strong outline that grows out evenly, start with a wet foundation and insist on a dry refinement to avoid surprises. For color changes, think ahead: highlights and balayage can make curl clumps look more separated, so a slightly softer layer pattern often photographs better. The best appointment ends with you understanding your curl clumps, your shrinkage zones, and exactly how to style at home so the cut looks just as good on day three as it did in the chair.
Which curly haircut types fit each method
If your curls change length a lot between wet and dry, the method matters most on styles that sit near a “landmark” like your jaw, chin, or cheekbones. A wet cut can help a stylist map a clean baseline and keep things symmetrical, but it can also hide how one side springs higher, or how a tighter front curl jumps up and steals your face framing. A dry cut shows your real shrinkage and where your curls naturally separate into clumps, which makes it easier to place layers, remove bulk, and keep your shape balanced on your usual wash day.
Think about your goal first, then your curl behavior. If you are growing out layers and you want a calmer, more even perimeter, a wet cut (or a wet cut plus a dry detail pass) can keep the ends tidy without over-layering your midlengths. If you are craving volume at the crown, or your curls are “different personalities” across your head, dry cutting usually gives a better outcome because the stylist can sculpt where your hair actually lifts. Either way, show up with your hair styled how you wear it most often, and tell your stylist exactly where you want the shortest pieces to land once fully dry.
Curly bob, layered lob, and blunt shapes
If you want a blunt curly bob, especially a chin-length bob, a wet cut can be helpful for setting a clean perimeter that looks intentional from every angle. The tradeoff is that bobs live right where shrinkage is most noticeable: a line that looks “perfect” when wet can bounce up unevenly around the jaw, leaving one front corner shorter. A safer plan for many curl types is a hybrid: the stylist establishes the outline with control (often slightly longer than your target), then dries and refines curl-by-curl so the final shape sits evenly at the chin and doesn’t surprise you after the first wash.
For a layered lob, you usually want softness around the cheekbones, not a shelf that flips out at the front. Ask for face framing that starts a little below the cheekbone if your curls are springy, or right at the cheekbone if your pattern is looser and you style with a diffuser. Dry cutting can be safer for this because the stylist can watch the front pieces bend and decide how much to remove so they coil inward instead of kicking forward. If your ends tend to “wing” out, request minimal texturizing at the very front and more internal shaping through the sides, plus a slightly longer front corner than the back.
Curly shag, round layers, and curly bangs
A curly shag and round layers are all about controlled chaos, which is why dry cutting is often the better match. Shags rely on airy movement at the crown, lighter ends, and a lived-in outline, so your stylist needs to see exactly where your curls separate and how high the top shrinks compared with the sides. The big tradeoff is that a shag can turn into a triangle if the weight lines are not managed, meaning too much bulk is left low on the head while the top gets too short. To avoid that, ask for weight removal that targets the “corners” above the ears and the lower back of the head, while keeping enough length through the perimeter to anchor the shape.
If you are considering curly bangs, plan for real shrinkage. Bangs can spring up about 0.5 to 2 inches once fully dry, especially if your forehead curls are tighter than your lengths, so a dry cut and a conservative first trim are your best friends. Many curl specialists recommend starting longer than you think, then adjusting after styling, which is the same idea behind advice like cut bangs longer to account for curl lift. A practical approach is curtain-style curly bangs that split near the brow center and blend into cheekbone layers, since they grow out gracefully and flatter many face shapes. Before committing, you can also preview bang shapes and lengths on your own photo using a try-on tool like Fravyn, then bring that visual to your appointment.
How to ask for a curly haircut and preview it
The fastest way to get a curly cut you love is to describe your real life curls, not your best hair day fantasy. Before you book, decide how you wear your hair at least 80 percent of the time (air-dried and scrunched, diffused, stretched, clipped back, or in a wash-and-go). Then show up to the appointment with that version of your curls. Bring 3 photos: one front, one side, one back, taken on a normal day. If you want a change like curly bangs, a bob, or heavy layers, also bring one “not for me” photo so your stylist knows what you are avoiding (for example, a triangle shape or a super-thinned-out finish).
Use a simple appointment script that covers wash day, styling, and your realistic maintenance level. Try this wording: “I wash every 3 to 4 days. I style with leave-in plus gel, then I scrunch and air-dry most of the time. I need the shape to look good without a round-brush blowout.” Next, ask for three specifics: cut curls in their natural pattern, show length in inches while dry, and agree on where face-framing starts. Those three points prevent most post-cut surprises, especially if your curl pattern changes around your hairline, crown, or nape.
My goal is a shape that looks great dry, not just even wet. Please cut to my natural curl pattern, and before you finish, can we do a final dry check and adjust curl by curl?
If your stylist prefers to start wet, you can still protect the final result by requesting a “dry check” at the end. That matters most for bangs, bobs, and strong perimeter shapes, because a slightly different curl grouping can change the whole outline once your hair springs up. Ask them to show you the planned length in inches while your curls are dry, especially around the front where shrinkage reads as “oops, too short.” For face-framing layers, be ultra-specific: “I want the shortest piece to land at my cheekbone, and I want the next pieces to flow into my chin.” That one sentence tells them exactly where your curl curtain should start and end.
To avoid guesswork on shape, preview the silhouette before you cut. A virtual try-on is most helpful for the big decisions, like “Do I look best with a rounded bob or a longer lob?” and “Where does volume hit on my face, cheekbone level or jaw level?” In Fravyn, you can upload your photo, run face shape analysis, then try multiple curly-friendly options and color ideas. Focus on the outline and where the fullness sits, not perfect curl-by-curl accuracy. For bridal planning, this is gold: you can test whether curly bangs fight with a veil, whether a layered lob leaves enough length for a low chignon, and how face-framing pieces photograph from the side.
Is a dry cut always better than a wet cut for curly hair
Not always. A dry cut can be amazing for precision shaping because your stylist sees the curl pattern, natural volume, and shrinkage in real time. A wet cut can be useful for establishing a clean baseline, removing damaged ends evenly, or when your curls need to be detangled and sectioned for control. Many great curly cuts use a hybrid: wet for the initial line, then dry for final sculpting around the face and crown. If you are unsure, ask for a plan that includes a finishing dry check. For a balanced overview, see Redken’s curl cutting techniques guidance.
What should I say to get face framing layers on curly hair
Skip “I want face framing” by itself and give placement, length, and density. Say: “I want curved face-framing layers that start at my cheekbone and connect into my overall shape by my chin. Please keep the ends full, no thinning shears at the front.” If you like a softer look, add: “I want the front to feel airy, like curly curtain bangs, but still blend into the sides.” Then confirm how you style: “I wear a middle part most days,” or “I always part left.” Your part changes where the shortest pieces should live.
How do I choose the best curly haircut for my face shape
Use face shape as a guide for where you place volume and where your perimeter hits. Oval faces can wear most shapes, so pick based on lifestyle (a shag for movement, a lob for versatility). Round faces often love cheekbone-start layers and a little height at the crown, which helps lengthen the look of the face. Square faces tend to look softer with curved face-framing layers and rounded corners, not a sharp boxy line at the jaw. Heart shapes usually balance beautifully with jaw-length fullness and a lighter crown. If you are nervous, preview 3 to 5 silhouettes in Fravyn, like a curly bob, layered lob, shag, and curly bangs, then bring your favorites to your stylist.
Ready to see how a new hairstyle looks on you before you book? Try Fravyn and preview 50+ styles on your own photo in seconds, including curly-friendly bobs, layers, and bangs. It is a fast way to test shapes and lengths, then walk into your appointment with confidence and clear references. Download Fravyn on iOS and start your try-on now.
Try a New Hairstyle Today
Preview 50+ hairstyles and 29+ colors on your own photo with Fravyn.