Clip In vs Tape In Extensions: Pros and Cons
Clip ins and tape ins can both add length, volume, and even a “try on” vibe for color, but they fit very different lifestyles. This guide compares damage risk, comfort, upkeep, costs, and who each method is best for, so you can choose confidently before you buy or book.
Hair extensions can change your length, volume, and vibe in minutes, but the method you choose can also affect your scalp comfort, styling freedom, and long-term hair health. Clip in and tape in extensions are two of the most popular options, yet they fit very different routines. In this guide, you will learn how they compare on comfort, damage risk, maintenance schedules, and true costs. By the end, you will know which option matches your hair type, lifestyle, and patience for upkeep.
Clip in vs tape in extensions at a glance
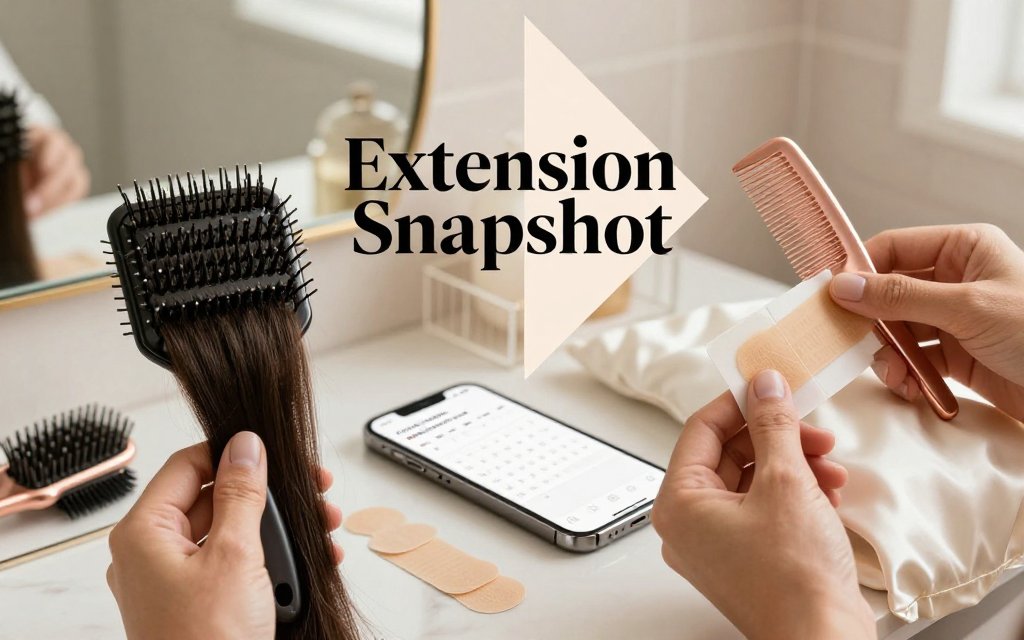
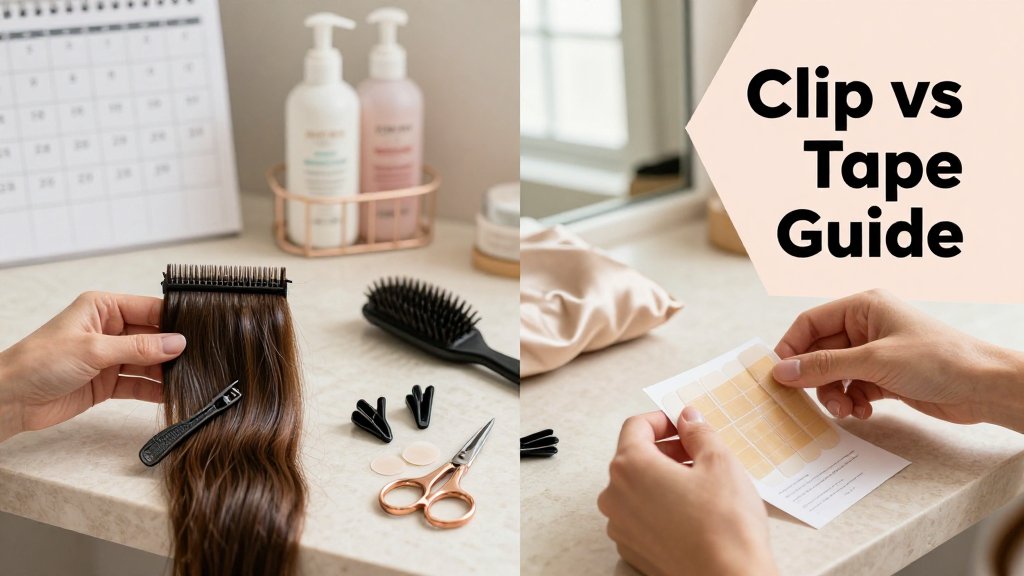
If you want a fast way to choose between clip-ins and tape-ins, picture a simple split-screen “day in the life.” On the left: a getting-ready corner with a brush, a teasing comb, and wefts you can pop in for a dinner date, a job interview, or a wedding weekend. On the right: a calendar reminder for move-up appointments, plus a silk pillowcase and a shower routine built around keeping adhesive tabs happy. That one visual usually answers the real buyer questions faster than Instagram before-and-afters. For a helpful baseline on timing and wear, the clip-in vs tape-in pros breakdown notes clip-ins are quick DIY, while tape-ins are semi-permanent and typically worn for about 6 to 8 weeks with proper care.
The short answer: who each method is for
Quotable verdict: clip-ins are the “try it tonight” extension, tape-ins are the “wake up done” extension. Clip-ins are the best hair extensions for beginners, occasional wear, events, and low-commitment experimenting, especially if you are testing a longer haircut vibe like waist-length waves, a face-framing layered look, or adding a pop of color for photos. Tape-ins are best for everyday length and volume, people who want their ponytail and blowout to look fuller all week, and anyone who is fine with salon maintenance and more rule-following at home.
Damage wise, both can be low-damage when done correctly, but the “correctly” part looks different. Clip-ins are gentle because they do not use adhesive or heat, but they can cause stress if you clip them into the same spots daily, clamp too close to fragile edges, or yank them out when you are tired. Tape-ins can be one of the gentler semi-permanent options because the tabs lie flat, but they can absolutely cause breakage if removal is rushed, if you let them grow out too long, or if oils and heavy conditioners make the adhesive slip so you keep tugging at them. Your best safeguard is choosing what you will realistically maintain.
A surprisingly smart way to decide is to separate “length” from “color.” If your main goal is to preview a color shift, clip-ins let you test tones without living in them every day. For example, someone curious about a rich brunette-red can try a few strategically placed clip-in wefts near the front, then compare photos in daylight before committing. If you are choosing a shade for the long haul, pair the idea with a digital try-on first, then go extension shopping with a clear target. Fravyn users often do this step with cherry mocha hair shade match inspiration in mind, because it is easier to judge warmth and depth on your own photo than on a model with different lighting and undertones.
Common mistake: choosing by photos instead of lifestyle
The most common mismatch looks like this: you fall in love with a flawless tape-in transformation photo, but you are a true low-maintenance person who hates upkeep. Tape-ins then feel annoying, not magical, because you cannot take them out after a long day, and you have to protect the adhesive every wash day. The opposite happens too: you buy gorgeous clip-ins for “everyday hair,” then realize you do not actually want to section, clip, blend, and style before work. Clip-ins can be easy, but they still ask you to do a mini installation each wear day, and that daily effort can quietly turn into skipped mornings and unused hair in a drawer.
Run your choice through real-life scenarios before you purchase. If you work out four times a week, tape-ins can still work, but you need a routine for sweat: drying the roots well, brushing gently, and avoiding products that make tabs slippery. If you have an oily scalp, you may be washing more often, which can shorten how “fresh” tape-ins feel between appointments and can increase the temptation to scrub too hard around the tabs. If you have fine hair that shows tracks, both methods require strategy: fewer, lighter wefts, thoughtful placement, and avoiding super-snatched updos that expose attachment points. If you are a bride with multiple pre-wedding events, clip-ins can be perfect for rehearsal dinner, bachelorette, and day-of, because each look can be customized without committing to weeks of maintenance.
Daily life reality check: sleeping, working out, styling
Sleeping is where the difference becomes very real. Clip-ins should come out before bed, full stop. Sleeping in clips is uncomfortable, and the friction plus pressure can stress your natural hair at the roots. Tape-ins are designed for longer wear, so yes, you can sleep in them, but you will want a few habits to keep them comfortable: a loose braid or low ponytail, a silk or satin pillowcase, and a gentle detangle routine so you do not develop tangles near the tabs. If you are someone who tosses and turns, tape-ins can feel better than bulky clips, but only if placement is flat and not too close to the hairline.
Styling and product rules also matter. Clip-ins are flexible for heat styling because you can style them off your head, let curls cool, then clip them in for a polished finish (great for a bridesmaid half-up style or glossy, bent ends). Tape-ins can be styled beautifully too, but you have to respect the attachment points. Keep high heat away from the tape tabs, avoid oil-based products at the roots, and brush with support at the base so you are not yanking on regrowth. If your everyday routine includes slicked-back buns, frequent scalp oils, or heavy masks near the roots, clip-ins may fit your routine better because you can remove them before those steps and protect your natural hair.
Pick extensions like you pick shoes: event-only pairs can be a little fussy, daily pairs must disappear. If you will not maintain them weekly, choose the option you can remove or refresh easily.
If you are still torn, try this practical decision: choose clip-ins if you want control (on and off, length and color experiments, special occasions). Choose tape-ins if you want continuity (waking up with volume, fewer daily decisions, and hair that feels like “yours” from Monday to Sunday). And if face shape or proportions are part of your goal, decide on the haircut silhouette first, then match the extension method to your schedule. A long, layered blowout, a shoulder-skimming lob with extra fullness, or curtain bangs with added density can each look amazing, but the best choice is the one you will actually wear comfortably while living your real life.
Damage and comfort: which is least damaging
The least damaging option is usually the one that matches your routine. Clip-ins tend to be gentler for most people because you are not wearing constant tension for weeks, and you can take them out as soon as your scalp feels sore. Tape-ins can also be low damage, but they only stay low damage when installation, removal, and upkeep stay consistent. In both methods, damage is rarely about the hair itself and more about mechanics: too much weight in one area, repeated pulling at the same spot, and friction that roughs up the cuticle. Comfort follows the same rule. If you feel pinching, burning, or a headache, that is your cue to adjust placement or take a break, not to push through it.
Where damage really comes from with clips and tape
With clip-in extensions, the risk is concentrated at the clip points. If you snap a clip onto a tiny section of hair, especially near the temples or along a fragile hairline, that small area carries the whole weft’s weight. Over time, that can mean breakage right where the clip grips, plus frizz from repeated rubbing. The fastest way people accidentally create damage is sleeping in clip-ins. Your head moves against the pillow, the clips shift, and you get a mix of tension and friction that can leave hair feeling rough or even sore the next morning. For comfort, place clips on denser areas like the occipital bone, keep them at least an inch back from the hairline, and remove them before bed, always.
Clip-ins can also feel surprisingly uncomfortable if the base is bulky or the clips are positioned too high. A common example is clipping a wide weft too close to your crown, then wearing a sleek ponytail. You get a tight “pull” sensation because the ponytail and the clips fight each other. To reduce that, try fewer wefts and focus volume lower on the head, then add one smaller piece higher only if you need it for blending. Another comfort upgrade is prep: clip into fully dry hair, add a light root “grip” with texture spray (instead of aggressive backcombing), and open and close clips gently so you are not crushing the same hairs repeatedly. Rotating your clip placement by even half an inch makes a big difference over a month.
Tape-ins usually cause damage in a different way: not from a single tight point, but from errors during install or removal. If the tapes are placed too close to the scalp, they can pinch, tug when you turn your head, and tempt you to scratch, which can lead to breakage around the bond. Improper removal is another big one. Pulling or peeling a tape without enough remover can take your hair with it, and leaving sticky residue behind can create tangles that tighten into mats near the roots. Skipping move-ups matters too because grown-out tape-ins act like little weights hanging from a longer lever, which increases tension at the roots. That risk pattern is described clearly in this clip-in vs tape-in damage guide, and it is exactly why maintenance timing affects hair health as much as the method itself.
For tape-in comfort, your daily habits matter more than people expect. Brush like you are protecting the roots, because you are. Hold the hair above the tape with one hand, then detangle the lengths with the other, starting at the ends. If you rip through a snag, you are yanking on the bond, not just the extension hair. Washing is also a comfort issue. Scrubbing in circles can push hair into the tapes and create that tight, itchy feeling later. Instead, shampoo your scalp in clean partings and let the lather run down the mid-lengths. At night, a low loose braid or a low ponytail with a soft scrunchie reduces tangling at the root area, which is where matting starts and where discomfort shows up first.
Hair type callouts: thin hair, fine hair, curly hair, oily scalp
Thin hair and fine hair can wear either method, but the “least damaging” choice often comes down to how much hair you have available to anchor each piece. Clip-in extensions for thin hair feel best when you use fewer wefts, smaller clips, and a lighter set overall. If you are shopping by weight, many extension wearers with fine hair do better starting around the 100-120 g range rather than jumping to a heavy, dramatic set that strains the roots. Place the bulk of the wefts at the back of the head, avoid stacking clips directly on top of each other, and rotate the clip map day to day. If you are a bride or have photos coming up, do a full wear test on a normal day, not your event day, so any scalp soreness shows up early.
Curly, coily, and textured hair has its own comfort rules. The goal is a blend that does not force your natural curl pattern to fight extra weight. Too much extension density can stretch curls, make the roots feel tender, and put extra stress on edges, especially if you also like slick styles. A practical approach is to match texture first (curl pattern, then density), then add length in a way that keeps your natural shape. For clip-ins, that can mean using a smaller number of textured wefts and placing them so your curls can spring over the base. For tape-ins, ask for lightweight wefts and placement that avoids high-tension zones near the perimeter. If you have an oily scalp, tape-ins can slip sooner, so clean partings and minimal conditioner near the bonds can be the difference between comfortable wear and constant shifting that makes you want to tug at them.
Maintenance schedule, costs, and how to choose
Maintenance is where the decision gets real. Tape-ins look effortless on day one, but they only stay seamless if you commit to move-ups and careful washing. Clip-ins feel simple because you can take them out, but frequent wear still adds time and a little learning curve. If you want a quick refresher on the core tradeoffs, the clip-in vs tape-in pros breakdown is a helpful baseline. From there, focus on your calendar and your budget, not just the before-and-after photos.
Upkeep reality check: time, products, and appointments
Tape-ins: plan on move-ups every 6 to 8 weeks (sooner if your hair grows fast, you have an oily scalp, or you notice the tabs creeping down and flipping). Between appointments, the daily habit that matters most is gentle detangling. Use a loop brush or a soft paddle brush, hold the hair at the root, and brush from ends upward at least once a day, twice if you wear your hair down and windy. For washing, think “scalp clean, tabs protected”: shampoo the scalp, keep conditioner and oils on mid-lengths to ends, and fully dry the tape area after. Skipping maintenance is how shed hairs get trapped at the roots, then combine with product buildup to create matting that feels impossible to undo.
Clip-ins: maintenance is lighter, but it is not zero. Clean them every 15 to 30 wears (more often if you use lots of dry shampoo or hairspray), and always detangle before washing so you do not tighten knots. Use lukewarm water, a gentle sulfate-free shampoo, then a rich conditioner on the mid-lengths and ends. Let them air dry flat or on a hanger, then store them in a silk bag or a dedicated extension case so they do not frizz from rubbing against everything in your drawer. One more honest detail: if you clip them in daily, that routine becomes its own “maintenance.” You will spend time sectioning neatly, checking symmetry, rotating clip placement to avoid sore spots, and re-blending around your face.
Hair extensions cost comparison: what people forget to budget
Clip-ins usually mean one main purchase, plus occasional replacement. As a placeholder range you can customize by your area, many people spend about $100 to $400 for synthetic-to-mixed sets, or $200 to $700+ for higher-quality human hair and longer lengths. Cheap synthetic sets often look cute out of the box, then start tangling and frizzing faster, especially if you heat-style them. Tape-ins have more “surprise” line items: initial install (hair plus labor), move-up labor every 6 to 8 weeks, and sometimes replacement hair if the ends get dry or the color no longer matches. Add-ons like a blending haircut, root smudge, toner, or a custom color match can bump the total, and that is before tip. For a reality check on modern pricing, this 2026 hair extension price guide shows how wide the ranges can be by method and salon market.
Use this simple framework to choose without overthinking it. Start with your “most common day,” not your fanciest event day. If you are a bride, for example, clip-ins can be perfect for ceremony plus reception volume, while tape-ins can make sense if you want the same hair for the rehearsal dinner and honeymoon too. If you are unsure what length or layers flatter you, trying styles on your own photo first (Fravyn on iOS can help with face shape analysis and style recommendations) prevents expensive guesswork before you buy hair. Then decide based on these four checks:
FAQ: Are clip ins or tape ins better for beginners?
Clip-ins are usually the best hair extensions for beginners because they are removable and low-commitment. You can practice placement at home, wear them only for weekends, and take them out before sleep so you are not learning care routines overnight. Tape-ins can still be beginner-friendly if you have a trusted stylist and you want daily wear that blends naturally, but you have to follow a maintenance schedule and wash carefully around the tape area. If “I might change my mind” is your vibe, start with clip-ins.
FAQ: What are the least damaging hair extensions?
The least damaging option depends on correct use, not just the method. Clip-ins are typically low-damage when worn occasionally, placed on strong sections (not wispy edges), and removed before sleep. Tape-ins can also be low-damage when installed with clean sections, proper weight balance, and moved up on time so they do not tug as they grow out. Big red flags are pain that lasts more than a day, bald spots, sticky residue near the root, and shedding from traction. Any of those means reassess immediately.
FAQ: How do I choose hair extensions for my hair type?
Match extensions to your density, scalp oiliness, weekly schedule, and styling habits. Thin or fine hair usually looks best with fewer grams and smaller wefts so the hair adds fullness without looking “stacked.” Thick hair often needs more wefts or longer lengths to blend, plus a purposeful layering cut. If your scalp gets oily fast, tape-ins may need earlier move-ups and extra care with dry shampoo placement. If you are very active or do sweaty workouts often, many people prefer clip-ins so they can remove them, wash their scalp easily, and clip back in for going out.
Ready to see how a new hairstyle looks on you before you commit to extensions? Try Fravyn to preview 50+ styles on your own photo in seconds, so you can test lengths, colors, and vibes with zero guesswork. Download the app and start experimenting today: iOS. Find your next look, then choose the extension method that fits it best.
Try a New Hairstyle Today
Preview 50+ hairstyles and 29+ colors on your own photo with Fravyn.