Protective Style Stress Test: Is Your Braid Too Tight?
Scalp soreness after braids is common, but it should not feel like a headache you cannot escape. Use this quick stress test to spot “too tight” warning signs early, ask your stylist for low-tension techniques, and choose protective styles that look amazing without risking traction alopecia.
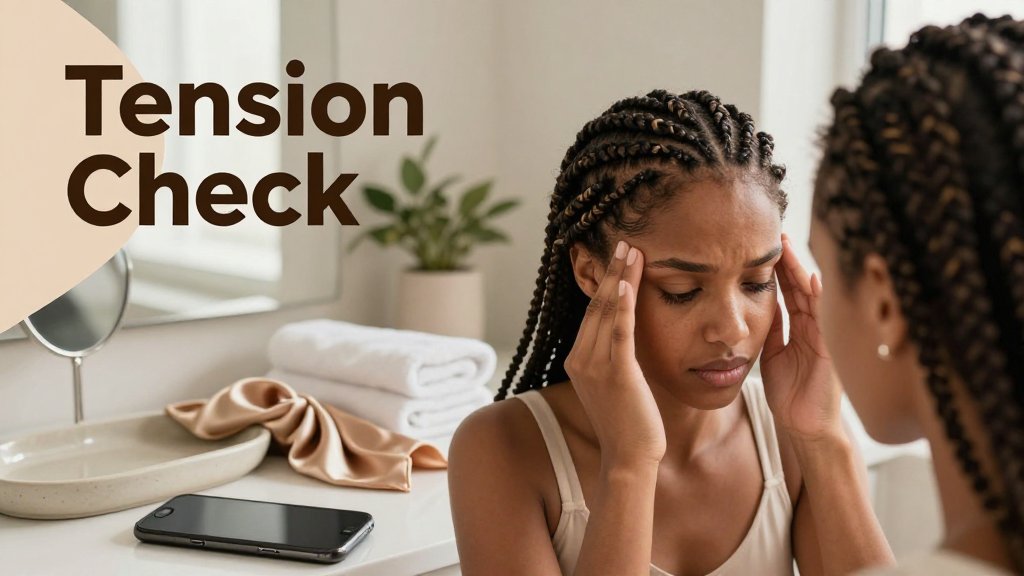
A fresh set of braids should feel secure, not like your scalp is in a tug-of-war. Too much tension can lead to soreness, bumps, headaches, and gradual thinning around your hairline. In this guide, you will learn a quick, practical stress test to check braid tension right away, plus how to tell normal post-install tenderness from warning-sign pain. You will also get exact phrases to use with your stylist so your edges and follicles stay protected.
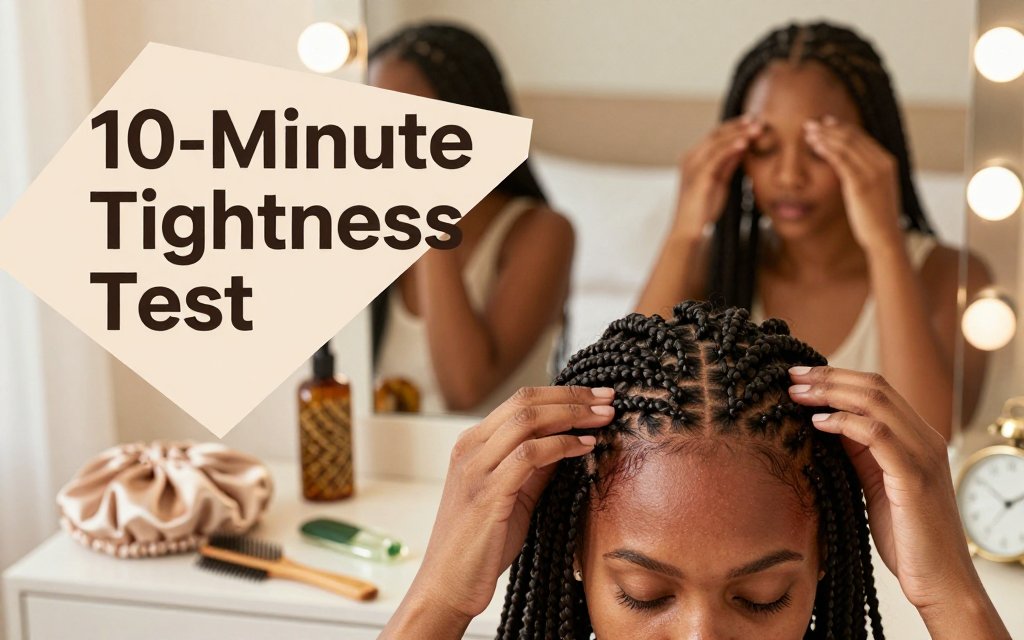
Braids too tight signs: the 10 minute test
Rule of thumb you can quote to your stylist: if you feel pulling while you are resting, it is already too tight. Not “maybe,” not “give it a week,” not “beauty is pain.” A fresh set of knotless box braids, feed-in cornrows, or faux locs should feel secure, but your scalp should not feel like it is being lifted off your skull. Do your first self-check as soon as you are done (before you leave the chair or within the first hour at home), because that is when small adjustments are easiest. Then repeat the same check again at bedtime, when your face relaxes and you are not distracted by moving around.
Normal “new style” tightness is usually mild and fades as your scalp settles, especially with lightweight installs like medium knotless braids or soft twists. Red-flag tightness feels sharp, prickly, or like constant tugging at the hairline and parts. Pay attention to bumps, persistent tenderness, or facial tension (yes, your face). If you catch yourself holding your eyebrows raised, clenching your jaw, or feeling tension at your temples, your braids are recruiting muscles they should not need. If you are choosing a protective style partly to support growth, also match the maintenance to your hair’s needs. Your wash and product routine matters, and your porosity plays a big role, so keep your staples aligned with a hair porosity product quiz.
If your scalp hurts while you are sitting still, treat it like a shoe that is too small. A protective style should feel secure, not painful. Early loosening prevents bumps, breakage, and stressed edges.
How to tell if braids are too tight right now
If you feel pulling at rest, it is already too tight. The easiest tells are the ones you can trigger on purpose. Raise your eyebrows, then relax them, and notice if your scalp pain spikes along the front row or at the temples. That is tension traveling through the braid pattern. Another classic sign is the “ponytail headache,” a band of pressure across the hairline or behind the ears, even if you did not install a ponytail style. Look at your parts: if they look shiny, overly exposed, or the skin looks stretched, you are seeing the result of too much tension. Also watch for braids that spring upward instead of laying down naturally, especially around your perimeter.
The key time-window question is: “How long should braids hurt?” Mild tenderness can happen the first night, especially if your scalp is sensitive, you are new to braids, or you went smaller than usual (like micro braids or very tight stitch braids). Pain that worsens after the first night, does not improve within about 24 hours, or wakes you up is a warning sign. Tiny fluid-filled bumps or pimple-like bumps along the part lines can mean irritated follicles, and they are a common early clue that tension is too high. The American Academy of Dermatology guidance on pulling styles also flags shiny, bald-looking skin as a sign the hairstyle is causing damage, so do not ignore that “too clean” parting look.
Quick photo concept (use it as your own reference shot): stand in bright bathroom lighting and take two close-ups, one of your front hairline and one straight down the center part. In the “too tight” example photo, you would see taut, shiny skin at the base of the braid, a slightly raised ridge where the braid sits, and little bumps clustered right along the part. The hairline might look unusually lifted, with your baby hairs pulled into the braid instead of softly laying at the edge. In a “secure but safe” photo, the parts look clean but not glossy, the hairline is not distorted, and the braids lie flat without trying to stand up on their own.
The stress test checklist you can do without tools
This is the same 10 minute “stress test” I recommend right after installation and again at bedtime. The goal is to catch high-tension spots early, before your scalp responds with bumps, inflammation, or breakage. You do not need oils, sprays, or a special comb. You just need a mirror, clean hands, and honesty about what you feel. If you are planning an event look (engagement photos, graduation, wedding week) this check matters even more, because you do not want to spend the night before your big day trying to salvage an install that never should have been that tight. Run the checklist in order and stop as soon as you hit a clear red flag.
What the results mean, and what to do next: if the mirror check shows glossy, tight skin, ask for targeted loosening at the tightest rows, usually the perimeter and the first two part lines. If the two-finger slide feels stuck, that is a tension problem at the base, not a “sensitive scalp” problem, so call your stylist the same day and request a redo on those braids. If the hairline touch-test feels like a sharp sting, use a warm compress for a few minutes to calm the scalp, then reassess, but do not mask serious pain with heavy gel. If the sleep-test fails (throbbing on the pillow), remove the tightest braids or the whole style. If the blink and chew test shows facial tension, you are wearing the style like a helmet, and you need immediate loosening. If you find bumps, prioritize reducing tension and keeping the area clean and dry, because irritated follicles can escalate fast.
Scalp pain after braids: what is normal vs risky
Day two with fresh braids can feel like a little “tender but cute” moment. You sleep carefully, you avoid tossing your head, and you expect it to settle. Then day four hits, and instead of easing up, the soreness turns into a throbbing, scalp-tight feeling that makes you wince when you smile, chew, or turn your neck. That pattern is your clue. Your scalp is not being dramatic, it is reacting to stress. Protective styles should protect your strands, not punish your follicles. If the discomfort is escalating, your hair and scalp are telling you the install is doing too much.
That “too much” usually comes from four things working together: tension, base size, added hair weight, and inflammation. If each braid starts from a tiny base (especially around the hairline and temples), the same pulling force is concentrated on fewer hairs. Add heavy extensions, long knotless braids, waist-length box braids, or lots of beads and cuffs, and you have extra downward weight tugging all day. Your scalp responds like any skin under stress: it gets irritated, puffy, and inflamed. Inflammation can also make the hair feel like it is being pulled tighter over time, even if your stylist did not re-braid anything. Sweat, product buildup, and friction from bonnets can add another layer of irritation.
How long should braids hurt, and when to worry
Normal tenderness is mild, feels like a gentle bruise at the roots, and steadily improves within 24 to 48 hours. You can still sleep, talk, and move your face normally, and the scalp does not look angry. Risky pain stays the same or worsens after 48 hours, wakes you up, or makes you avoid moving your face or neck because everything “pulls.” Stop signs include visible redness along parts, bumps that look like little pimples at the base of braids, pronounced “tenting” where the scalp looks raised between braids, and any numbness or tingling. If you are experiencing those, treat it as a take-action situation, not a “wait it out” situation.
> You should never have to earn a hairstyle by suffering through days of pain. If your scalp is pulsing, your edges feel like they are being yanked, or you are dreading bedtime, that is your body asking for relief now.
This is not just about comfort, it is traction alopecia prevention. Repeated tension plus repeated inflammation can weaken follicles over time, especially at the hairline where hairs are finer and more fragile. If you keep reinstalling tight feed-in cornrows, small box braids, or slick braided ponytails that hurt, the risk adds up slowly, and it can show up as thinning edges, broken hairs that will not “catch up,” or a widening hairline. Dermatology guidance is clear that painful, irritating styles should be removed, not tolerated. The American Academy of Dermatology even notes that if a style feels painful, it is too tight, and you should remove it if it causes pain or irritation, which you can read in their advice on hair loss from hairstyles.
Itching after braids relief without making it worse
Itching can be tricky because not all itch means the same thing. Dry scalp itch usually feels powdery or flaky and improves with light hydration, gentle cleansing, and time. “Tight braid itch” feels hot, prickly, or like tiny stings right along the parts, and it often comes with soreness, burning, or that stretched feeling at the roots. The common mistake is going in with your nails and scratching the part aggressively, which can inflame the follicles and introduce bacteria. The other mistake is soaking the scalp in heavy oils or butters right away. That can trap sweat and buildup under the braids, making irritation worse, especially if you are working out or wearing wigs and hats over the style.
For relief that does not add fuel to the fire, keep it simple and light. Try a cool compress on the sore or itchy areas for 5 to 10 minutes, then let the scalp fully dry. If you have product buildup or sweat, use a diluted, gentle scalp cleanser (think a few drops of shampoo in water) on a cotton pad and wipe along the parts, instead of drenching the whole head. Follow with a water-based scalp mist (plain water, a simple braid spray, or a very light aloe-based mist) and pat it in. If you feel the urge to scratch, do gentle tapping with your fingertips or press-and-release along the parts. One rule to remember: if itching is paired with burning or sharp pain, treat it as a tension issue first, not a dryness issue.
If you hit the risky thresholds, do not negotiate with your scalp. Loosen what you can immediately (especially perimeter braids), and if the pain, bumps, redness, or tingling does not improve quickly, take the style down. Yes, even if it is only been a few days, even if the braids are fresh, even if the parts are perfect. Saving your hairline is always cheaper than trying to regrow thinning edges later. After you remove the braids, cleanse gently, avoid tight ponytails for at least a week, and keep styling low-tension (loose twists, a puff with a soft band, or a low braid with no pulling). For your next appointment, ask for larger bases at the hairline, less extension hair per braid, and a length and thickness that your scalp can carry comfortably.
Protective styles low tension: what to ask for in 2026
If you have ever left the chair thinking, “It looks amazing, but why does it feel like my scalp is being pulled,” your next appointment needs a different game plan. Tight, long, heavy installs increase the risk of traction alopecia, which is hair loss caused by prolonged or repetitive tension on the hair. The most useful “data” is simple and body-based: pain and scalp tenting are not a beauty tax, they are a warning sign. A good quick read to keep bookmarked is the traction alopecia patient guide, then walk into the salon ready to ask for a lower-tension build from the first braid.
Start by requesting a low-tension base, because that is where most “too tight” installs begin. Say: “Please use a knotless or soft feed-in start, and keep the base flat and movable. If you see my scalp lifting, stop and loosen before you continue.” Ask your stylist to braid with your head in a neutral position (not chin-down for 40 minutes), especially at the nape, where braids often feel tightest later. If you are tender-headed, request a quick break after every 10 to 15 braids so your scalp is not under continuous stress while they work.
Next, talk parts and weight, specifically. Larger part size usually equals less stress per square inch of scalp. Ask for medium parts (or even large parts) instead of tiny micro parts, and avoid “skinny base, fat braid” sizing because it concentrates tension right at the root. Then reduce added-hair weight: fewer packs, lighter fiber, and less length. A practical ask is: “Let’s keep it shoulder-length or collarbone-length, and let’s not overpack each braid.” Waist-length braids can look gorgeous, but that extra length adds leverage and friction on your edges every time you turn your head or sleep.
Finish edge-safe, not edge-snatch. Make it clear you do not want your baby hairs braided into the base, and you do not want a super tight hairline “for neatness.” If you like laid edges, request gentle edge styling with minimal product and no hard brush pressure, then a satin wrap for 5 to 10 minutes, not aggressive slicking for 30. Also ask where the tension will sit when styled up: a high ponytail made from fresh braids can create a constant pull even if the individual braids are fine. If you want an updo, ask for a low bun option, or leave a few face-framing braids out so the hairline is not doing all the work.
Low tension braid styles 2026 that still look full
For “low tension braid styles 2026,” ask for fullness through smart sizing, not tightness. Knotless box braids with a larger base can look more natural than tiny braids, and they often hurt less because tension is spread across more hair at the root. This sounds backward, but going slightly bigger can reduce pain since each braid carries less concentrated pull. Try medium knotless with medium parts, shoulder-length “braid bob” knotless, or mixed-texture installs like boho knotless (strategic curls added, fewer packs of straight extension hair needed). Choose for lifestyle too: if you work out daily, wear helmets, or toss in your sleep, a shorter length and smoother ends cut down friction that can keep a scalp irritated.
How do I tell if braids are too tight or I am just tender?
Tender-headed usually feels like mild soreness when you touch the scalp, and it improves within 24 to 48 hours. Too tight feels sharper, can throb, and often comes with bumps, burning, or scalp “tenting” where skin looks lifted around the parts. Do this today: gently move a few braids side to side. They should shift a little without pain. What to say to your stylist: “These bases are pulling and tenting. Please loosen the first inch of each braid, especially around my hairline and nape.”
How long should braids hurt before I take them out?
If pain is more than mild soreness past 48 hours, treat that as a problem to fix, not something to “push through.” Same day action is best if you have burning, numbness, worsening headaches, or you see pus-filled bumps. Within the first 24 hours, you can ask the stylist to redo the tight perimeter braids, loosen the nape, or shorten the length. If they cannot adjust it, remove the worst braids (often the hairline row) or take the style out fully. What to say: “I need this loosened today so I do not risk edge loss.”
What should I ask my stylist for to prevent traction alopecia?
Ask for prevention choices that reduce tension, weight, and friction at the same time: knotless or soft feed-in bases, medium or large parts, fewer packs of extension hair, and a shorter target length (shoulder to mid-back instead of waist). Request edge-safe finishing: “Leave my baby hairs out, no tight perimeter braids, and no tight ponytail styling for the first week.” Also ask for a comfort check during the service: “After the first 5 braids, I want to confirm the tension is comfortable before we continue.” If you want extra confidence, use a try-on app like Fravyn to preview medium parts and face-framing placement that flatters your face shape without needing tightness for definition.
Ready to see how a new hairstyle looks on you before you commit? Try Fravyn to preview 50+ styles on your own photo in seconds, so you can choose a look you love with more confidence. Download the app here: iOS. Pick a style, save your favorites, and walk into your next appointment with a clear plan.
Try a New Hairstyle Today
Preview 50+ hairstyles and 29+ colors on your own photo with Fravyn.